On Demand VPN Setup
Browse to the Palo Alto Networks - Global Protect download page. Select the version you are trying to install. For a Windows machine, you will want to choose the 'Windows 64-bit Global Protect agent' option.

Once downloaded, select the download to run the installation file.
The following window will be displayed, select 'Next'.

Select 'Next' three times to complete the installation.
Once completed, you will see the screen below. Select 'Close'.

A Global Protect Client icon will be placed in the system tray in the lower right corner.

Select the icon and the launch the Global Protect program.

Enter the LJMU GP gateway address (gpvpn.ljmu.ac.uk) in the Portal field and select 'Connect'.

This will then redirect you to the LJMU Microsoft login page.

Enter your LJMU email address, then enter your password. Multifactor authentication (MFA) may also pop up. If so, please open the authenticator on your phone (or other methods) to approve the request. Once approved, the client should be connected.

To disconnect or reconnect Global Protect, select the upper right corner to 'Disconnect' or select 'Settings', then 'Sign Out' if you need to sign in to another user.
For staff to connect to an office PC only
Select the Windows symbol in the bottom left corner of your screen and type 'Remote'.
Select 'Remote Desktop Connection'.

When the Remote Desktop Connection window appears, enter your desktop PC asset number prefixed with 'JM', and suffixed with '.jmu.ac.uk' into the computer field.
For example:
- Asset number '74341' is Computer 'JM74341.jmu.ac.uk'.

Select 'Connect'.
You will then be asked for credentials. Select 'More Choices'.

Then select 'Use a different account'.

Enter 'USERS\username' and your usual password, then select 'OK'.
For example:

Accept the certificate by selecting 'Yes'.

Your LJMU desktop should now be visible and you can work as normal.
When you have finished for the day, end your session by selecting the 'Log-Off' tile on your desktop in the same way as you would normally log off at the end of the day.
Important note:
Do not shut down your desktop PC (the one you are remotely connected to).
For staff to connect to an office PC only
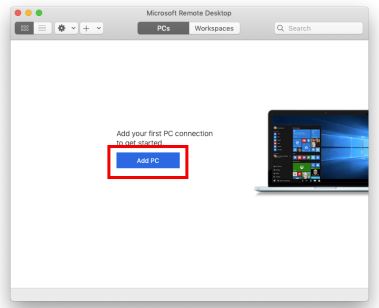
The app will now launch and you can select 'Add PC' to enter the specific computer number you wish to access if you have been given one.
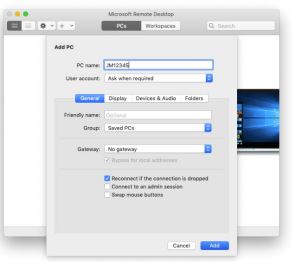
Select the 'Add PC' button and enter the computer number you have been given (or made a note of if you are staff) in the box that appears. You don’t have to change any other settings, just select 'Add'.
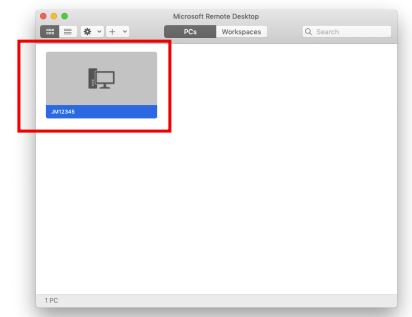
Double select the PC icon that has now appeared to connect to the PC.
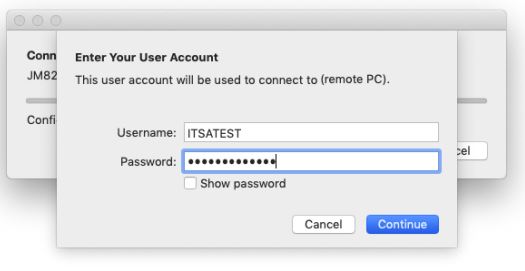
You will be asked to log in with your LJMU username and password. Then select 'Continue'.
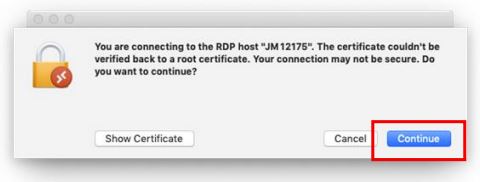
You need to select 'Continue' to accept the certificate. You can choose 'Show Certificate' to check it contains LJMU details.
When you have finished your session, logoff as normal by choosing the 'Log Off' button from the Start Menu. This will close your remote desktop connection.